Access Control for Database Chatbots
When building a customer-facing chatbot, it's crucial to ensure that customers only have access to their own data. This practice is known as "Access Control."
To implement this, you must first understand how to create a "User."
AskYourDatabase operates similarly to Stripe; you create a "Customer" on our platform by calling our API, and then generate a session URL to render the chatbot within an iframe.
Imagine your online backend code identifies the current user as "John" with the email "johndoe@gmail.com". You must first create this customer and obtain the chatbot session URL.
Create new customer
Below is an example code snippet for creating a user:
const { url } = await fetch("https://www.askyourdatabase.com/api/chatbot/session", {
  method: "POST",
  headers: {
    "Content-Type": "application/json",
  },
  body: JSON.stringify({
    secretKey: "${secretKey}",
    name: "John",
    email: "johndoe@gmail.com",
    properties: {
      userId: 17
    }
  }),
}).then((res) => res.json());
As you can see, you pass the name and email, along with the "properties" to the API. The API then returns a URL that you can use to render an iframe containing the chatbot.
Context Variables
All the data elements inside the "properties" as well as the "name" and "email" are referred to as "Context Variables." These are accessible within the row-level policy, playing a crucial role in implementing user-based access.
These variables are essential for enabling the SQL code to reference user identification details to filter the data appropriately.
In the specific example provided above, the following context variables are available:
name: The name of the user, which is "John" in this case.email: The user's email address, "johndoe@gmail.com".userId: A unique identifier for the user, here represented as17.
These context variables can be referenced within your SQL statements to ensure that users access only their respective data.
{
  "name": "John",
  "email": "johndoe@gmail.com",
  "userId": 17
}
Row-Level Policy
Creating a row-level policy is straightforward—it primarily involves a SELECT statement with a filter.
Consider a scenario where we have three tables: users, chatbot, and çessages.
- A
usercan own multiplechatbots. - Each
chatbotcan own multiplemessages.
The chatbot table includes a userid field that references the id field in the users table. Similarly, the messages table has a chatbotid field that references the botid field in the chatbot table.
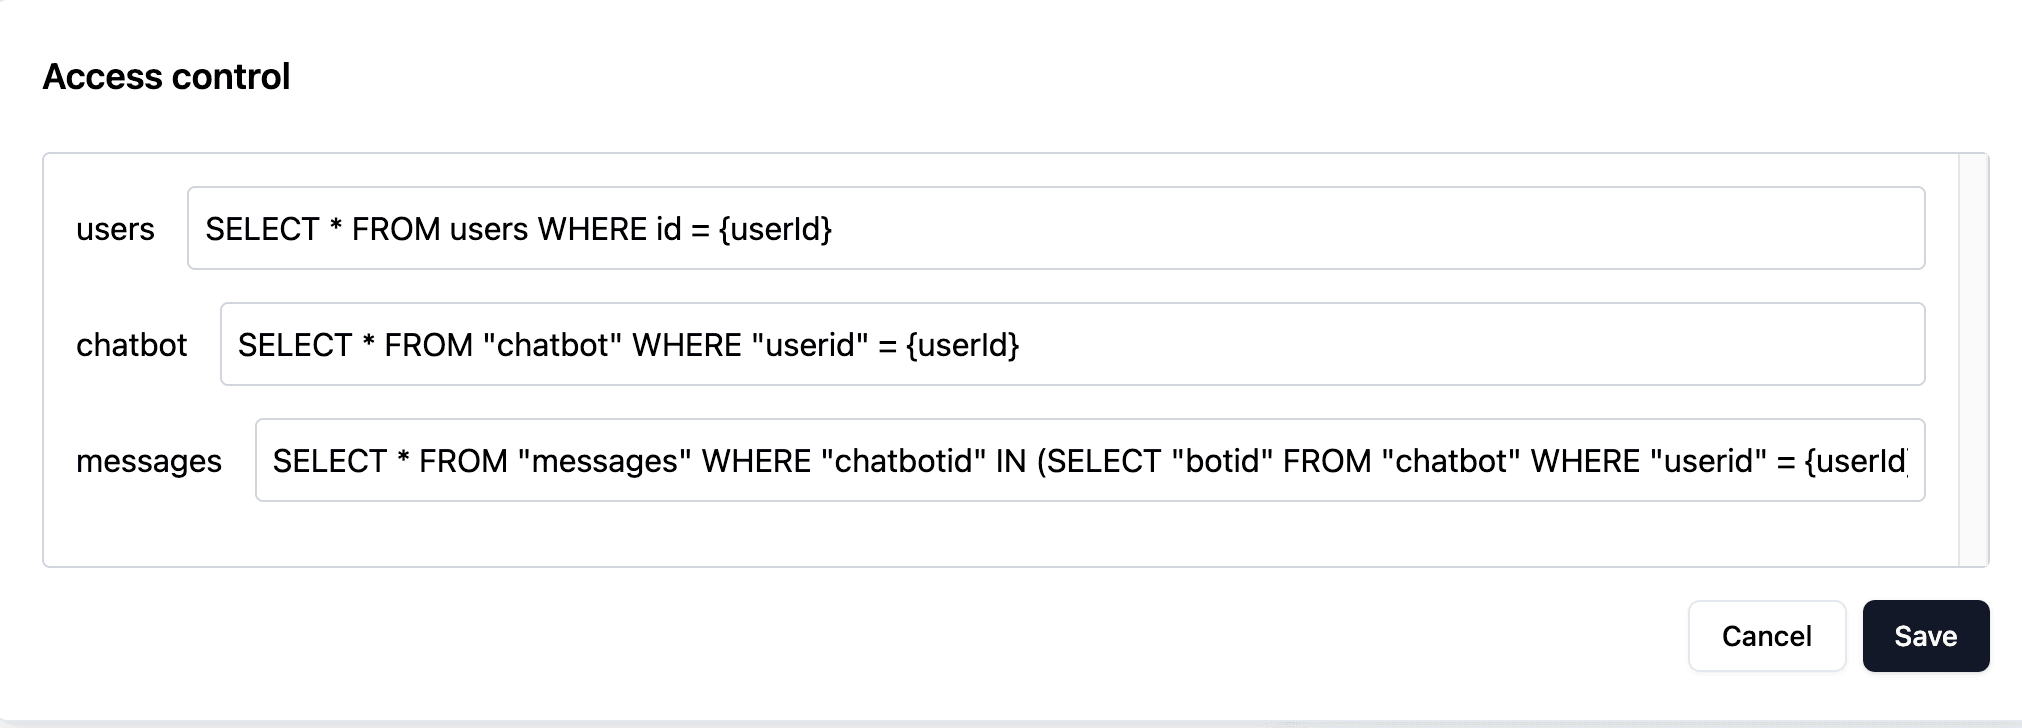
Below are the row-level policies applied to each of these tables:
users
SELECT * FROM users WHERE id = {userId}chatbot
SELECT * FROM "chatbot" WHERE "userid" = {userId}messages
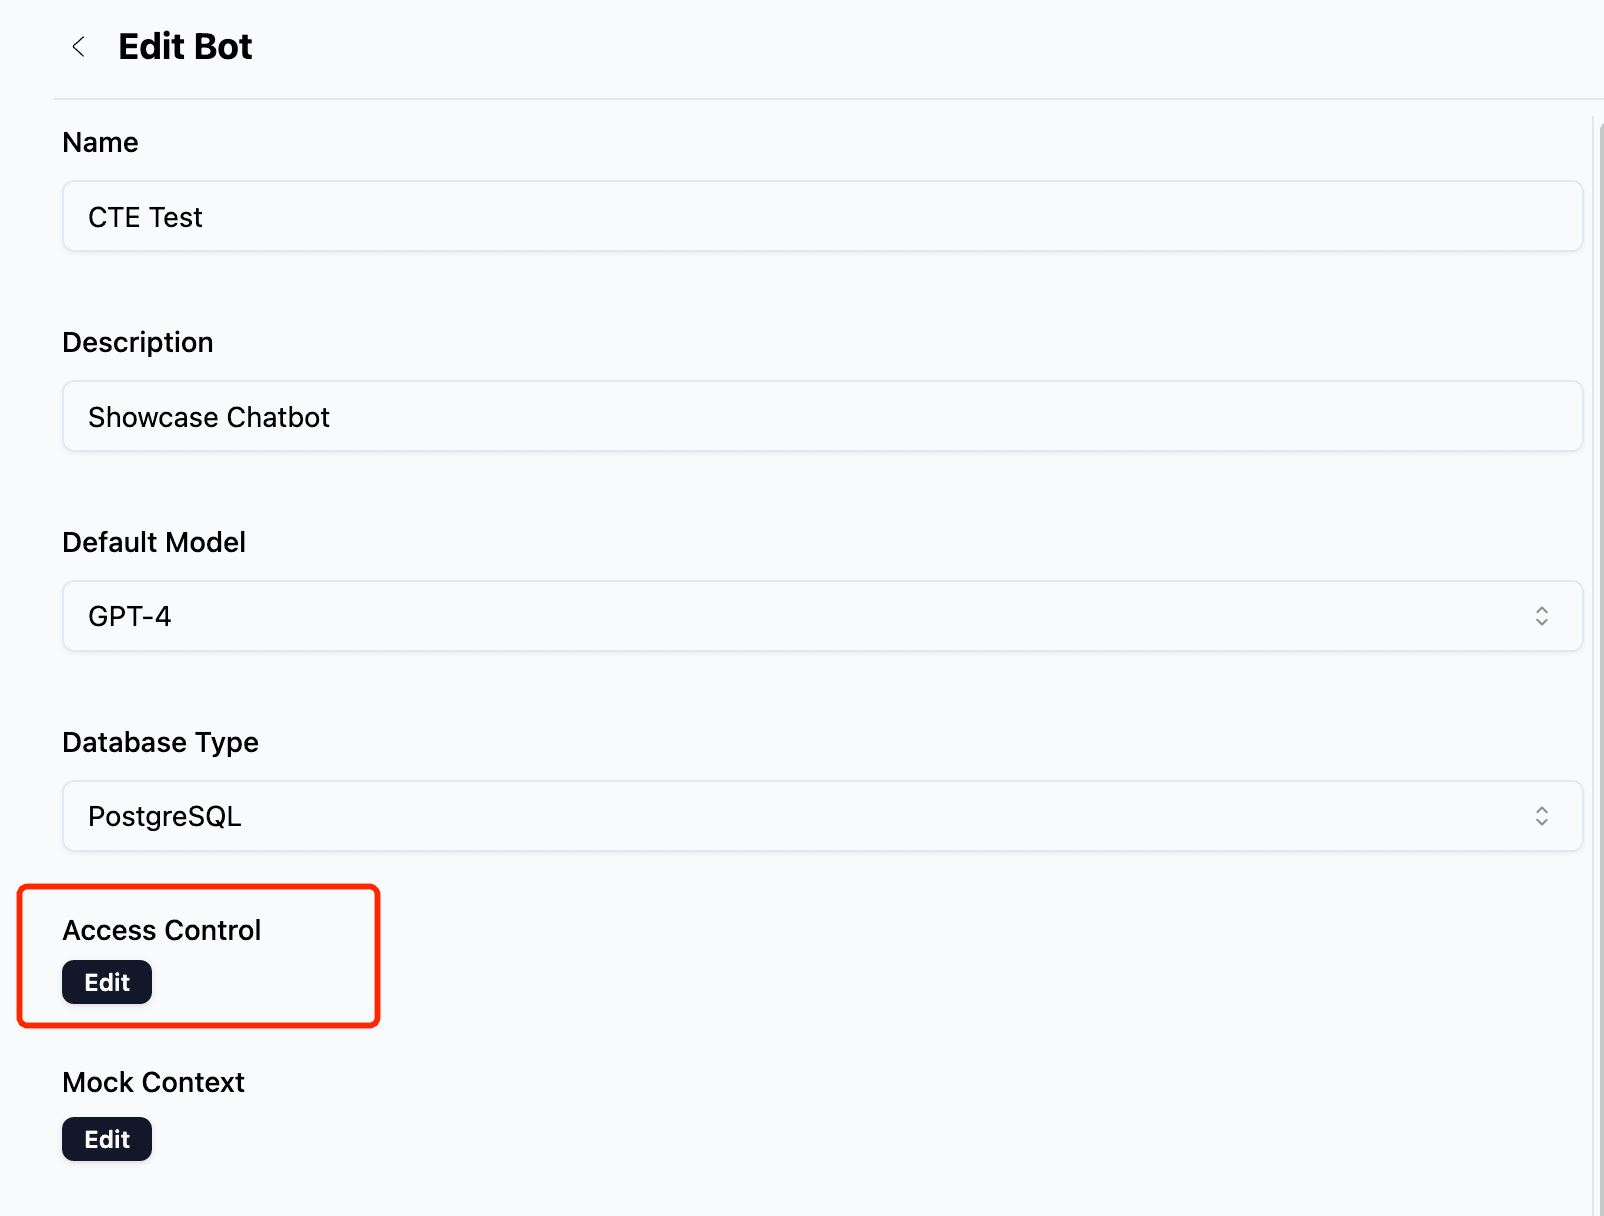
SELECT * FROM "messages" WHERE "chatbotid" IN (SELECT "botid" FROM "chatbot" WHERE "userid" = {userId})To configure, please navigate to the "Access Control" section and click "Edit":
Debug
Ensuring that the row-level policy is effective and functions as expected is crucial.
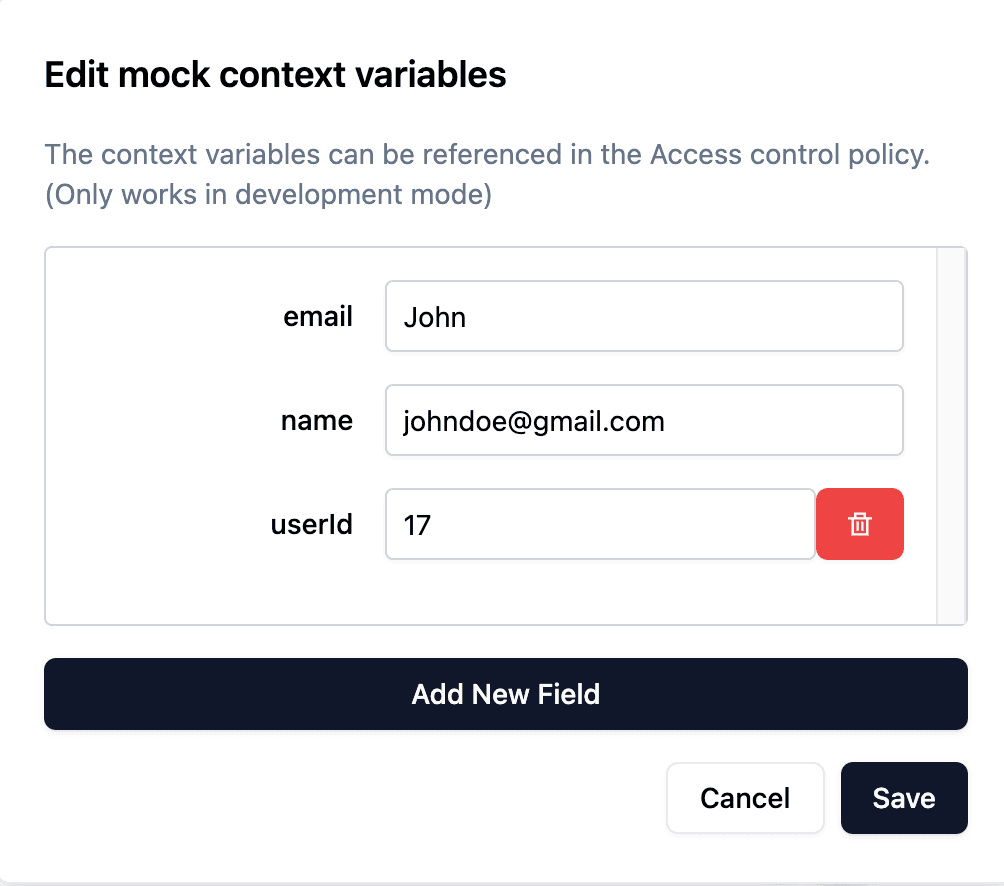
We provide a feature that allows you to "Mock" context variables within the debug panel, enabling you to simulate any customer's experience.
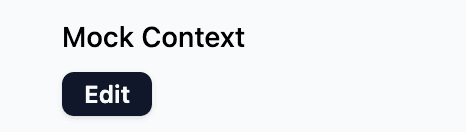
Please proceed by clicking "Mock Context":
You can then enter the variables you wish to mock:
Following this, you can test the settings in the right-hand debug chat:
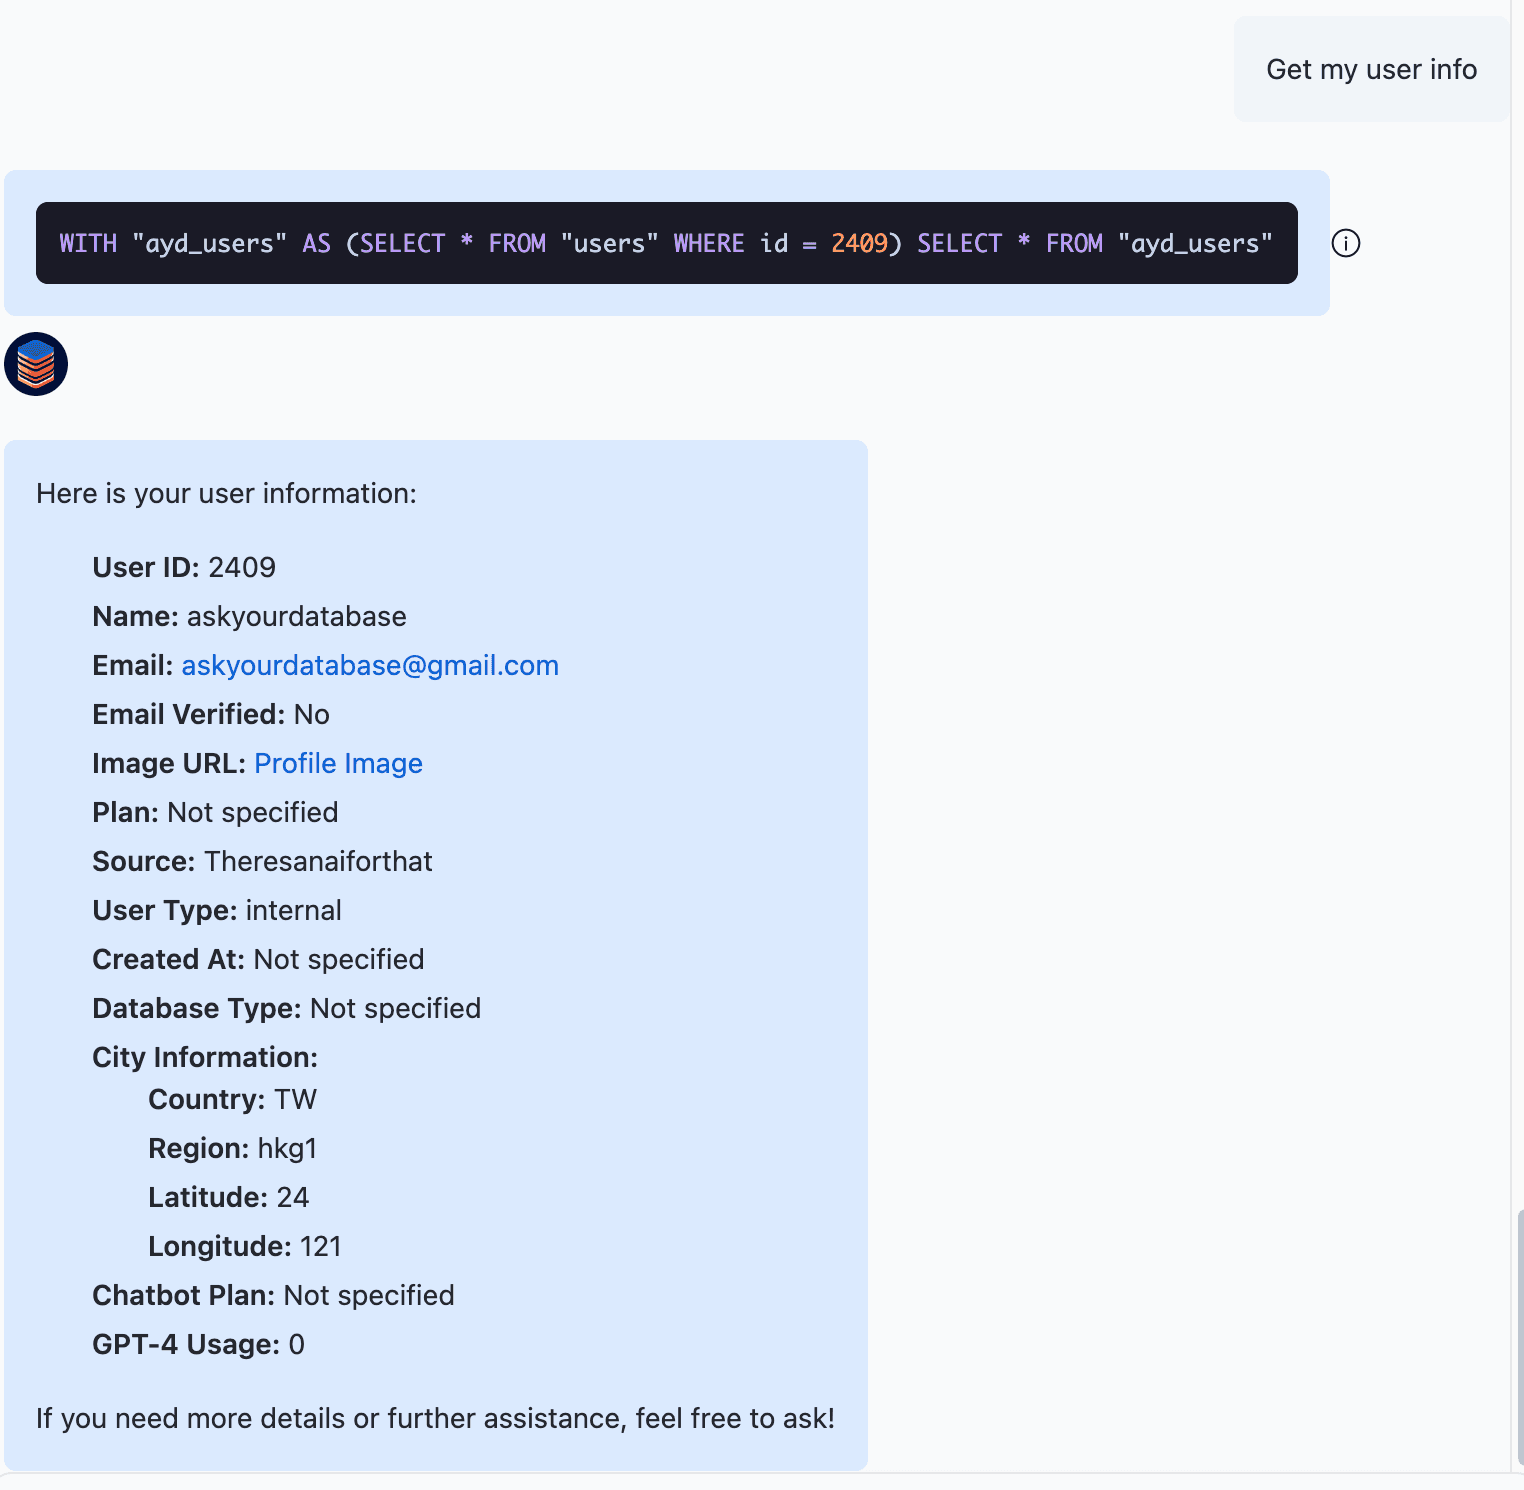
As demonstrated, having specified my userId as 2409 in the mock panel, the system correctly displays only the records that belong to me.
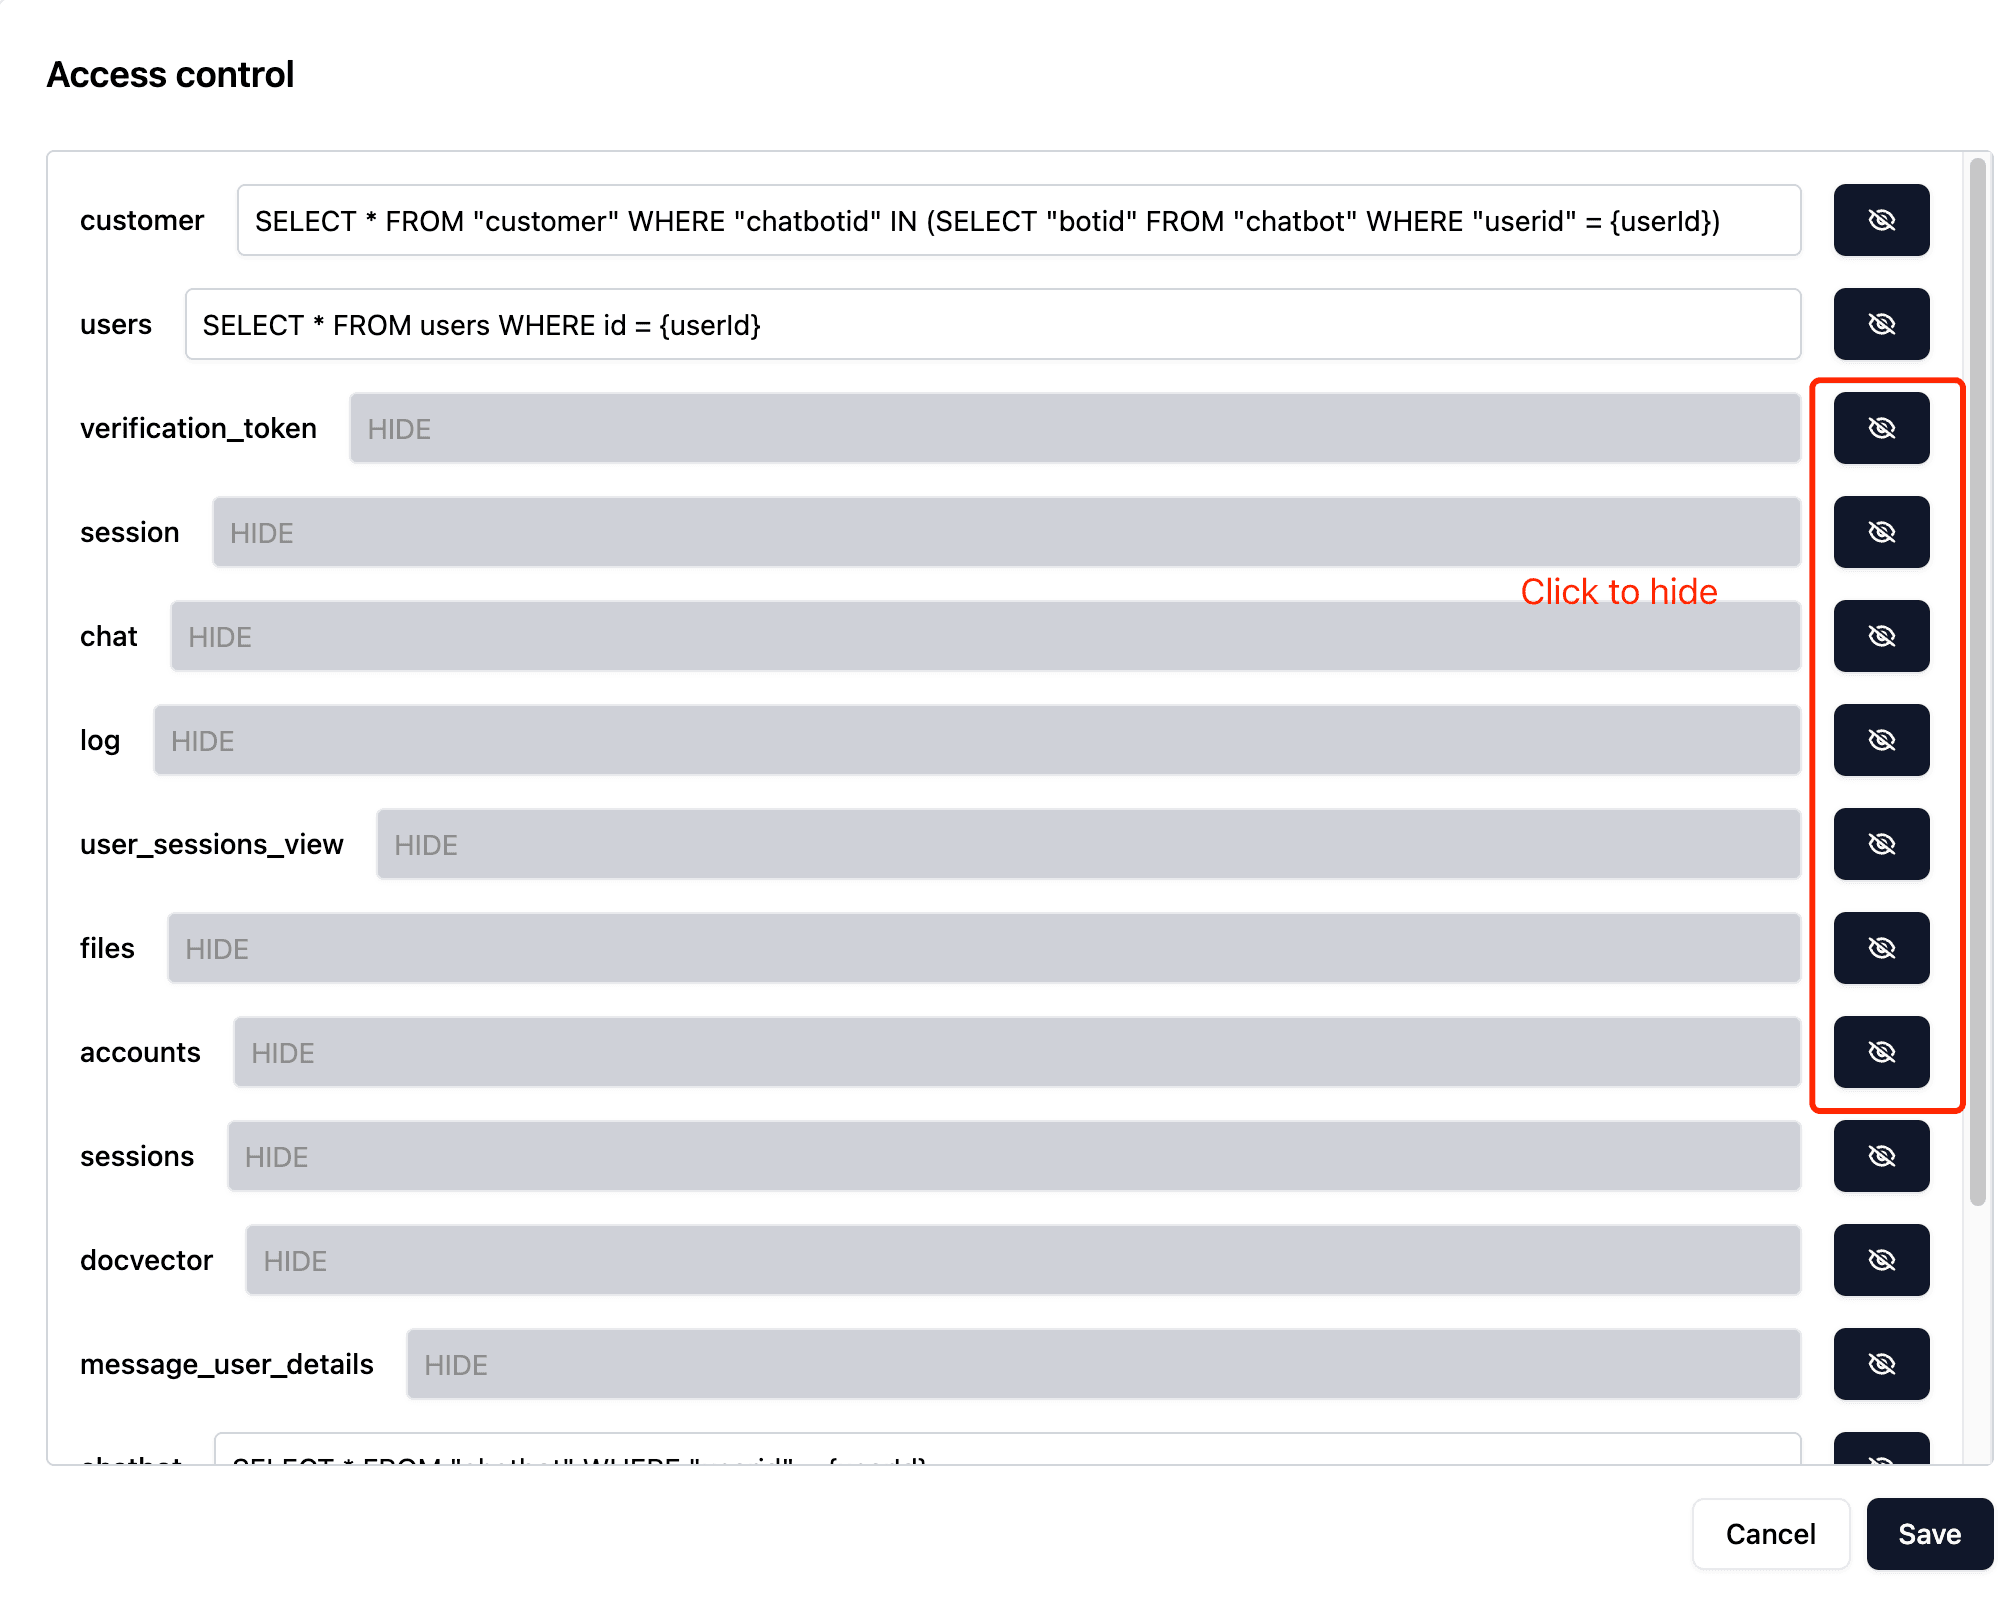
Hide tables
If you want certain tables to be inaccessible to users, you can easily accomplish this. Simply click the 'hide' button on the right side, and the table will be hidden for both users and AI.
Monitor
You can monitor the effectiveness of the row-level policies by going to the messages section in the chatbot dashboard. This allows you to view the chat histories of customers and confirm if the access controls are working as intended.